
Last updated November 2, 2026
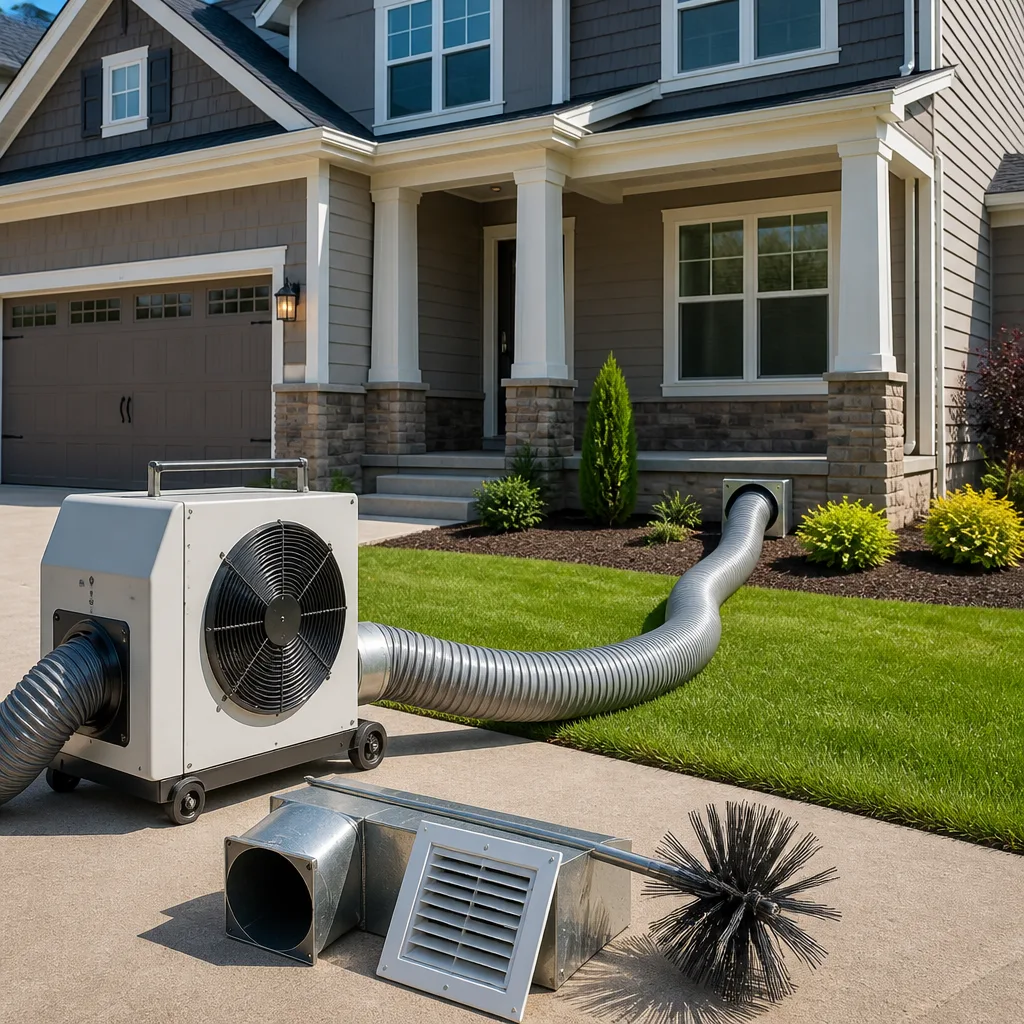 Whole-home duct cleaning
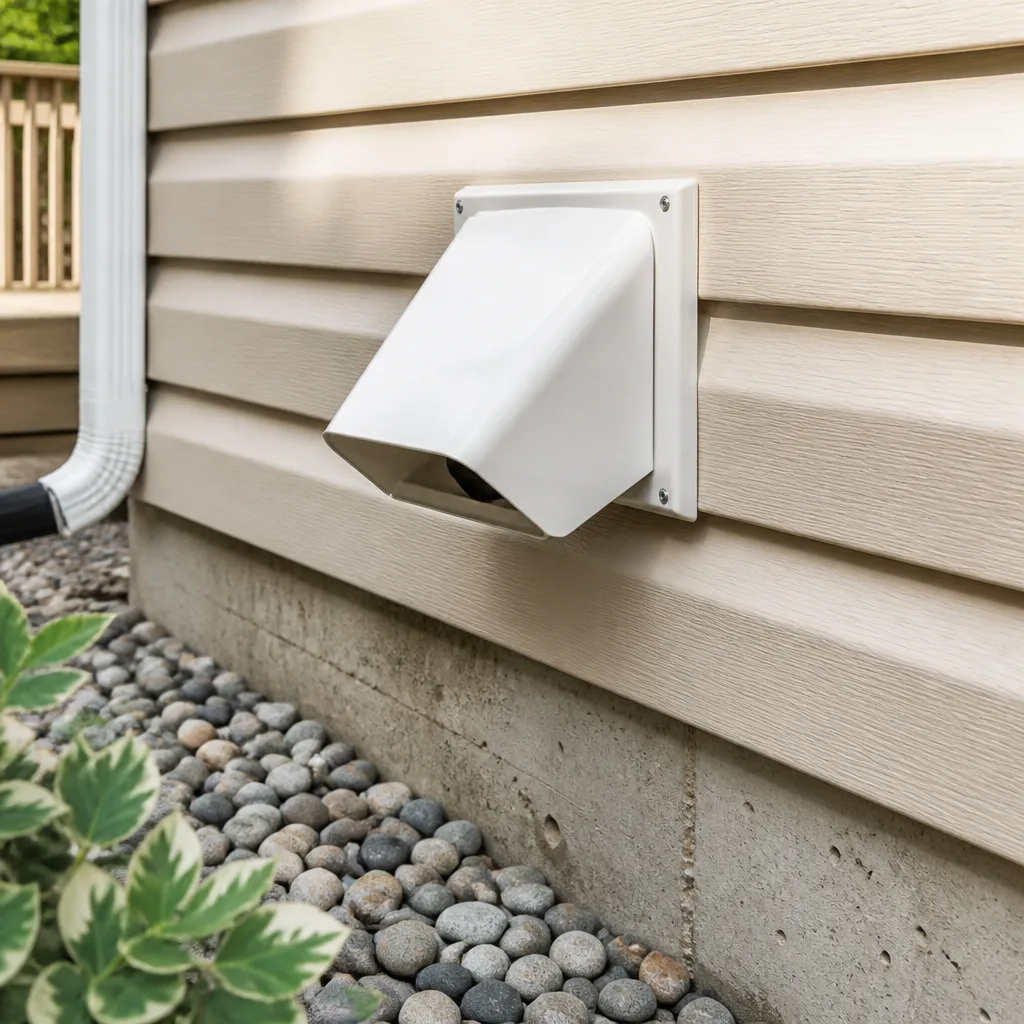 Dryer vent cleaning
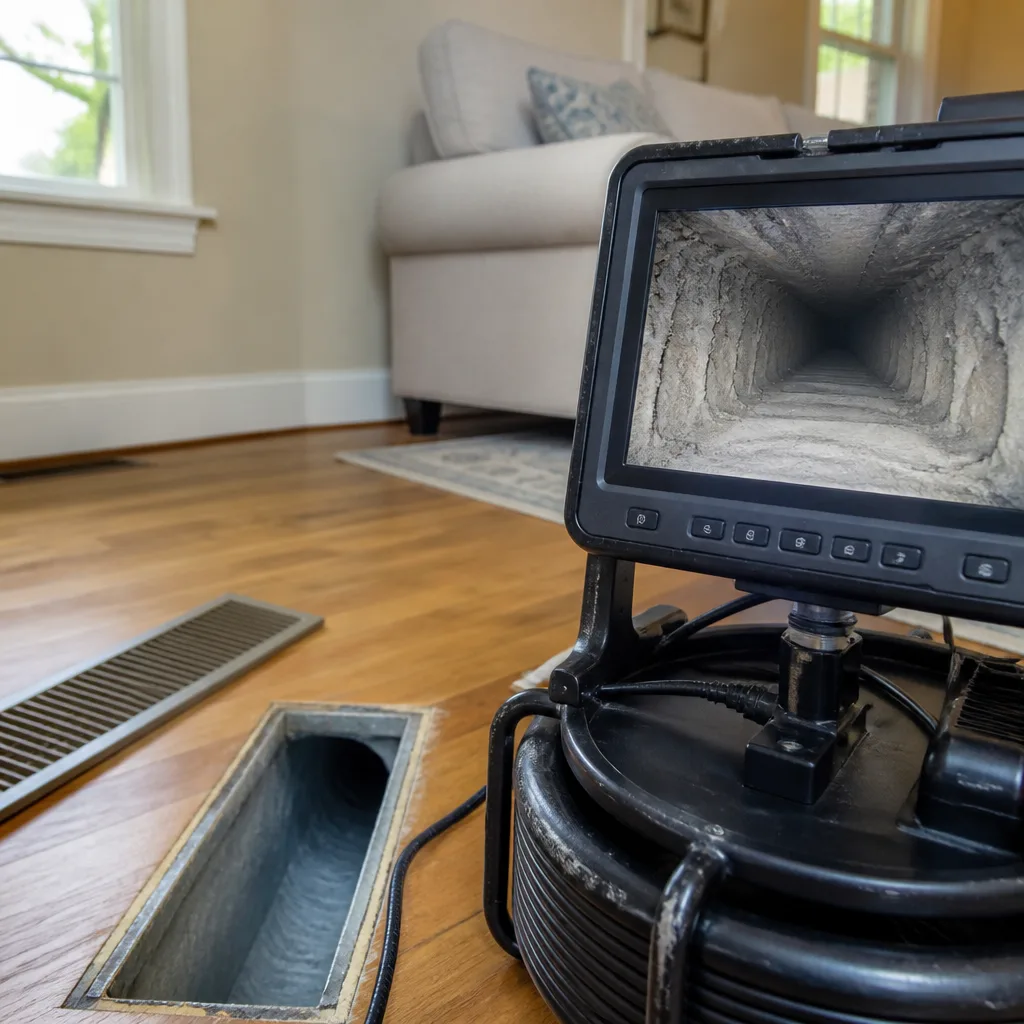 Camera inspection
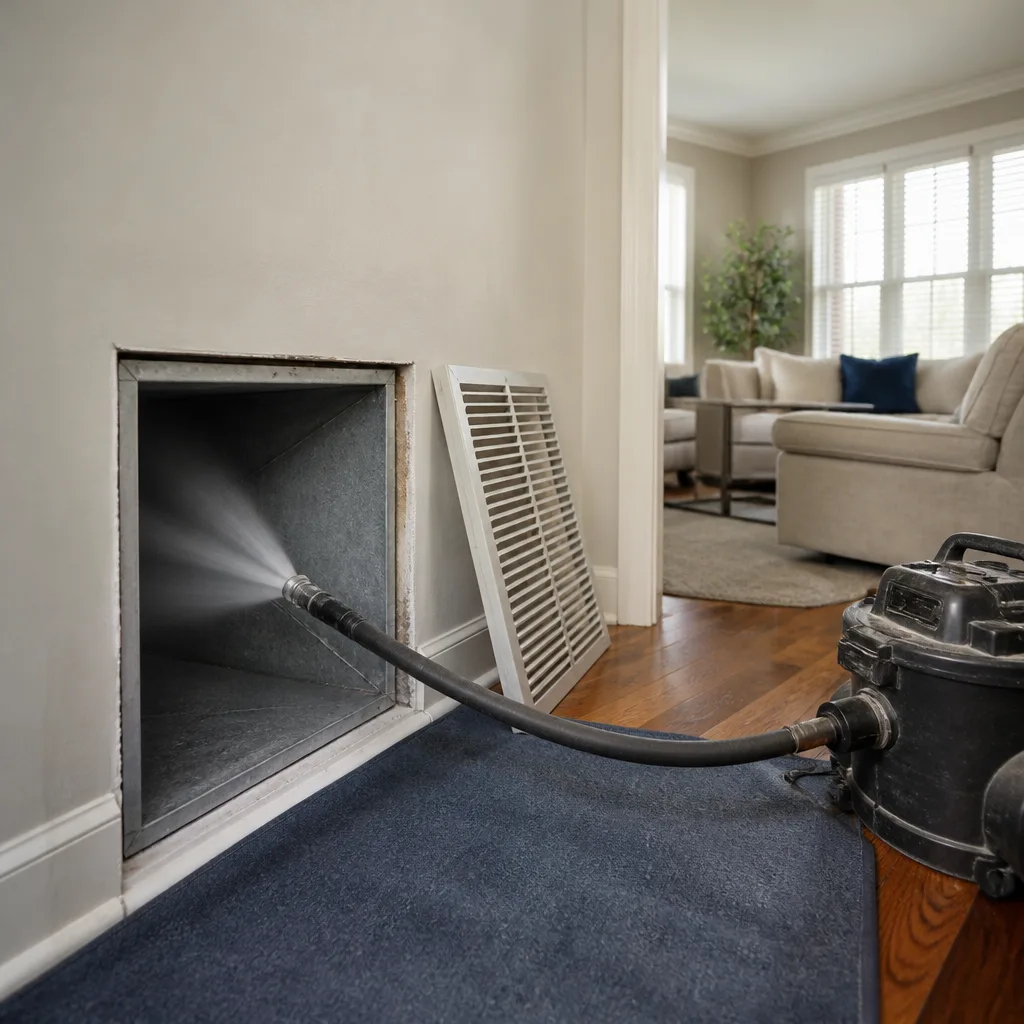 Sanitizing & deodorizing
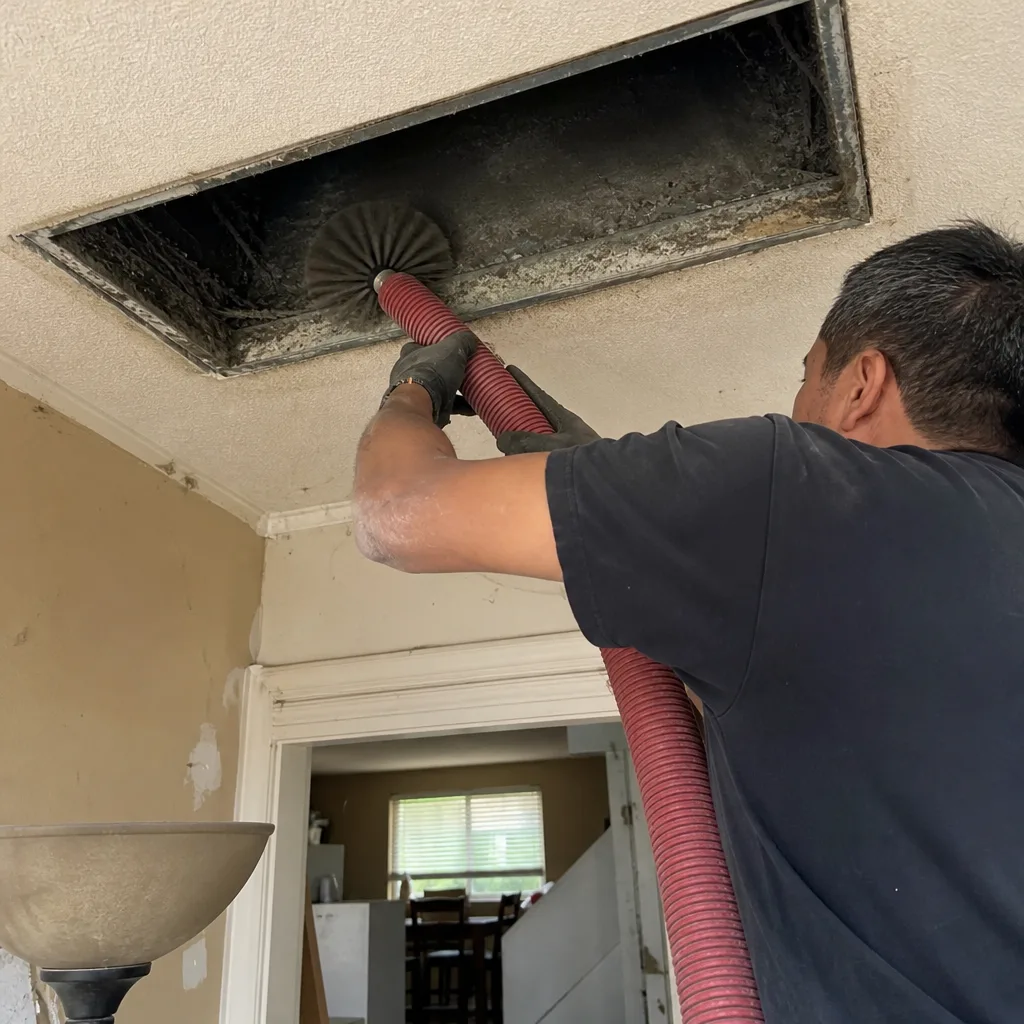
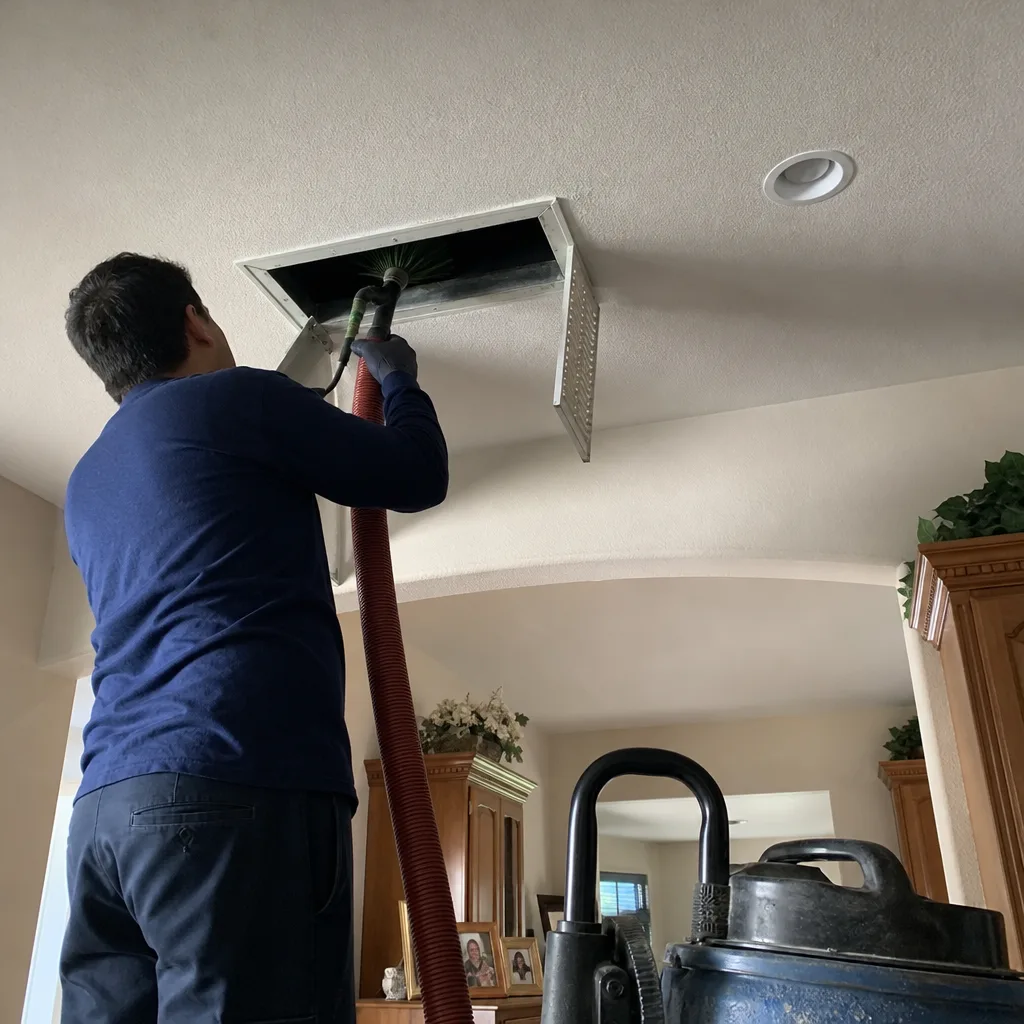
Whole-system duct and dryer vent check with before-and-after photos - you see exactly what came out of your vents
That "$99 whole-house special" is a bait ad - the real number appears once they are in your hallway, or the "clean" is a shop-vac at the register. We photograph the inside of your ducts before and after instead.
Air Duct Cleaning Maintenance Checklist for Perris Homeowners
Most homeowners in Perris replace their HVAC filter on a schedule and assume the duct system is fine. That assumption is expensive. Filter condition and duct condition are two separate things, and one tells you almost nothing about the other. A filter catches what passes through the return air before it reaches the blower. The ducts downstream carry whatever got past, plus whatever has accumulated over years, plus whatever enters through small gaps in the ductwork itself. This guide is built around the failure points we actually see in Perris homes: high dust infiltration from dry, open terrain, UV-degraded flex duct in attics that routinely exceed 140°F in summer, and HVAC systems running 10-plus months per year under Inland Valley heat loads. You’ll find a task-by-task maintenance checklist with real triggers, not just calendar dates, and the specific things to look for that most guides never mention.
Quick Answer
An effective air duct maintenance routine for Perris homeowners includes monthly filter checks and register dust monitoring, semi-annual air handler cabinet inspections and a DIY duct-leakage smoke test, annual attic duct inspections after summer heat cycles, and professional duct cleaning every 3 to 5 years using brush-agitation with HEPA extraction. The checklist below breaks each task into specific visual triggers, so you’re cleaning and repairing based on what’s actually happening in your system, not an arbitrary calendar.
Styles & brands we work with
- Whole-home duct cleaning
- Dryer vent cleaning
- Camera inspection
- Sanitizing & deodorizing
Table of Contents
- The Monthly Check: What to Look For Without Opening Anything
- Semi-Annual Tasks: Air Handler Cabinet and the Smoke Test
- The Santa Ana Season Protocol for Perris
- Annual Attic Duct Inspection: Catching Heat Damage Before It Spreads
- The Every-3-to-5-Year Deep Clean and Repair Cycle
- How to Log and Track Findings So Technicians Can Spot Patterns
- Common Mistakes to Avoid
- When to Call a Professional
- Frequently Asked Questions
The Monthly Check: What to Look For Without Opening Anything
You don’t need to open the air handler every month. You need to read the signals your system is already giving you. Start with the filter. In Perris, where wind-blown dust from the San Jacinto Valley and surrounding dry terrain is a constant, filters load faster than the packaging suggests. A filter that’s visibly gray or tan-caked at the 30-day mark isn’t the filter failing. It’s telling you the duct system is under dust pressure, and that dust is also settling inside your supply and return plenums.
Here’s the monthly checklist, in order of what we find most useful:
- Remove and inspect the filter in direct light. Hold it up to a window or a work light. If you can’t see light through the pleats, the filter was done weeks ago, not today. Note the date and how many days it ran.
- Check the filter frame and housing for dust bypass. Look at the edges where the filter sits. White or gray streaks on the surrounding metal or plastic mean air, and dust, is going around the filter, not through it. That dust is now on the blower wheel and evaporator coil.
- Wipe a white cloth across two supply registers and one return grille. Don’t wipe the register itself first. Wipe the wall or ceiling within three inches of the register. A gray smudge there means conditioned air is blowing dust out of the ducts and onto the surface. This is exfiltration evidence, and it’s one of the clearest duct-cleanliness indicators a homeowner can read without any tools.
- Listen for new sounds when the blower starts and stops. A soft popping or oil-canning sound as the blower ramps up is often duct metal flexing under pressure change, which points to weak seams or loose hangers. A rattle that stops when you press a hand on the register usually means a loose damper or baffle, not a duct problem.
- Compare airflow between rooms by feel. Stand at each supply register with the system running. A room that’s noticeably weaker than it was three months ago, while the filter is clean, suggests a developing duct leak or a damper that’s drifted. Log the room and the date. One data point means little. Three months of decline is a diagnosis.
What you’re doing with this monthly pass is building a baseline. The beauty of a checklist with specific visual triggers is that it catches problems at the stage where they cost hundreds to fix instead of thousands. A filter showing bypass dust at the housing edges, for example, is a $30 fix if addressed as a housing adjustment. Left alone for two seasons, that same bypass path guarantees a blower wheel and coil that need professional cleaning, and it feeds contamination back into ducts you just paid to clean. Our air duct cleaning in Perris process starts with exactly these system observations, because they tell us what happened before we ever put a camera in the duct.
Semi-Annual Tasks: Air Handler Cabinet and the Smoke Test
Twice a year, ideally once in spring before the heavy cooling season and once in late fall before any heating use, you should open the air handler cabinet and do a visual inspection. This is also the time for two diagnostic checks that most Perris homeowners never perform: the evaporator coil look and the duct-leakage smoke test. Neither requires special tools beyond a flashlight, a screwdriver, and an incense stick or a piece of cotton string.
Here’s the sequence we recommend:
- Turn off power to the air handler at the breaker or the service disconnect. Never inspect an air handler with the blower running or the cabinet open and the system live. Always confirm the blower is stopped before reaching in.
- Open the blower access panel and inspect the blower wheel. Look at the curved blades on the blower wheel. In Perris homes, especially those near unpaved roads or open fields, a fine tan or gray coating on the blades is common. That coating unbalances the wheel over time, puts strain on the blower motor, and is the single best predictor of whether the system is contaminating its own ducts. If you see heavy buildup, note whether it’s even across the wheel or heavier on one side. Uneven buildup is the first sign of wheel imbalance.
- Inspect the evaporator coil face with a flashlight. Look through the coil at a slight angle, not head-on. You’re looking for dark or fuzzy patches, which indicate organic growth or caked dust. A coil that’s partially blocked causes uneven cooling, longer runtimes, and higher humidity inside the ducts, which then accelerates dust adhesion on the duct walls. Coil condition feeds duct condition more than any other single component.
- Check the drain pan under the coil. A dry, cracked pan is doing nothing. A pan with standing water or a white or green residue at the waterline indicates poor drainage, which raises the humidity inside the cabinet and eventually the ducts. Perris summers mean the coil is producing condensate for months straight; if the pan isn’t draining, that water is not staying politely in the pan. It’s humidifying the duct system.
- Check the cabinet door gasket and any internal insulation. Look for missing or compressed gasket material around the access panel. Loose internal insulation that has shifted or is hanging means the air stream is picking up insulation fibers and depositing them throughout the supply ducts. In some older Perris homes, original internal insulation was borderline from day one. If you see this, it’s a repair call, not a cleaning call.
- Run the duct-leakage smoke test at one supply register. Close the air handler cabinet and restore power. Turn the system fan on, not heat or cool, just the fan. Light an incense stick or get a small piece of cotton string smoldering. Hold it near the seam where the register boot meets the wall or ceiling, and near the seam where the register grille meets the boot. If the smoke stream is pulled INTO the seam or blown outward, you have a register boot leak. Do the same along any accessible duct runs in the attic or garage. The smoke test catches seal failures before they show up on your electric bill, and it’s a legitimate DIY diagnostic because you’re only looking, not repairing. Any confirmed leak should be sealed by a pro who can pressure-test the result.
This semi-annual protocol matters because the air handler cabinet is the engine bay of the duct system. Everything that happens in there, coil debris, blower contamination, pan failure, insulation shedding, gets pumped into the ductwork downstream. We routinely find, on Perris inspections, that a homeowner who replaced filters faithfully for five years had a blower wheel that looked like a lint trap because of a filter bypass they never saw. The cabinet tells the truth about the system.
The Santa Ana Season Protocol for Perris
Perris sits directly in the path of Santa Ana winds that sweep down through the Cajon Pass and the San Gorgonio Pass, picking up fine particulate from the Inland Valley’s dry lake beds and open scrubland. These wind events can last three to five days and push dust through every exterior wall penetration, door seal, and attic vent in a home. For a duct system, Santa Ana season is the annual stress test. Most guides ignore it. This one makes it a scheduled event.
The pre-Santa Ana checklist, run in September or early October, looks like this:
- Inspect every exterior door weatherstrip and threshold seal. Dust enters the home first through the building envelope. A gap at the bottom of a door is a direct dust injection port. If you can see daylight or feel air movement, replace the weatherstrip before the season starts. Less dust in the home equals less dust in the return air equals less dust in the ducts.
- Verify that bathroom and kitchen exhaust fans have functioning backdraft dampers. When Santa Ana winds pressurize the exterior, they can force outside air backward through exhaust ducts that lead to the outside. A flapper that doesn’t close fully is an open highway for wind-blown dust to enter the conditioned space and then get drawn into the return side of the HVAC system.
- Check that all attic access hatches and pull-down stair frames seat tightly. A loose attic hatch is a pressure leak and a dust leak simultaneously. The attic is where the ductwork lives, and when wind forces dust into an attic, a leaky hatch lets that dust get pulled into the living space and into the return air stream.
- Set a reminder to do a post-wind-event filter check. After each significant Santa Ana event, remove and inspect the filter. In our experience in Perris, three days of sustained winds can load a filter that normally lasts 60 days down to two weeks. You’re not changing filters on schedule; you’re changing them on condition, and condition changes dramatically with wind events.
The post-Santa Ana checklist, run within a week after the winds calm, is simpler but important:
- Do the white-cloth register test described in the monthly checklist. Compare results to your last pre-wind baseline. A sudden increase in gray smudging right after a wind event means dust made it past your envelope and through the ducts.
- Listen for any new whistle or hiss at the registers. High wind can dislodge an already-fragile duct connection in the attic. A new hiss that wasn’t there before is a new leak.
- Check the outdoor condenser unit for dust caking on the coil fins. A condenser that’s clogged with wind-blown debris runs longer and harder, which means more air volume moving through the ducts, which means more dust mobilization and deposition. Gently rinse the coil with a garden hose, not a pressure washer, if it’s visibly loaded.
Santa Ana season is predictable. We know when it’s coming, and we know what it does to homes in Perris. Folding these checks into your annual rhythm means you’re not reacting to a system that’s suddenly running worse in November. You’re already ahead of it.
Annual Attic Duct Inspection: Catching Heat Damage Before It Spreads
Attic temperatures in Perris routinely exceed 140°F during July, August, and September. Flexible ductwork, the insulated silver or black flex lines that connect the main trunk to individual room registers, is not rated for a lifetime of those temperatures. The outer vapor barrier gets brittle, the inner liner develops cracks, and the insulation compresses. Every one of those failure modes has a direct consequence: conditioned air leaking into the attic, attic air and insulation being drawn into the ducts, or both.
Once a year, after the summer heat has peaked but before fall, usually late September or early October, do a full attic walk-through. Here’s what you’re looking for:
- Flex ducts that are no longer round. A healthy flex duct has a smooth, round profile along its entire run. A duct that’s sagging, kinked, or flattened at a bend has internal damage or failed support straps. Air doesn’t like corners any more than it has to, and a kinked flex duct can reduce airflow to a room by 50% or more.
- Gray or black staining on the outer jacket. The outer vapor barrier on flex duct shows its age visually. Discoloration, cracking, or a chalky surface texture means the jacket has been cooked. It may still look intact from the outside, but the inner liner is often already compromised.
- Compressed or missing insulation along the top of the duct run. Look at the top surface, not just the sides. Attic heat settles from the top down. Insulation that has flattened or shifted along the upper curve of a flex duct means that section is no longer doing its thermal job. The air inside is losing or gaining temperature on the way to the register, and in the summer, that means warmer supply air and longer runtimes.
- Evidence of rodent activity. Droppings, chewed outer jackets, or nesting material near duct runs are not just a pest problem. They’re a duct-integrity problem. Rodents chew through flex duct routinely, and the holes become leak points and contamination entry points. One chewed section of flex duct can introduce attic insulation fibers into the supply stream for every room on that branch.
- Disconnected or partially separated duct joints. At every junction where flex duct meets a rigid trunk line, a wye fitting, or a register boot, verify the connection is fully seated and the tape or mastic is intact. A joint that’s pulled apart even an inch is leaking conditioned air into the attic. One inch at one joint can lose more air than most homeowners realize, and in a Perris attic in August, that lost air is the most expensive air you’ll ever produce.
If you find any of these conditions, the fix is not a cleaning. It’s a repair. And this is exactly where most duct cleaning companies draw the line and walk away, leaving you with a clean duct that’s still leaking. Our air duct repair in Perris service exists precisely for this moment, because a duct system that’s been identified as damaged needs a structural fix, not another pass with a vacuum. The repair and the cleaning work together; one without the other is half a job.
The Every-3-to-5-Year Deep Clean and Repair Cycle
The 3-to-5-year professional cleaning interval is not a marketing number. It’s the point at which, in most Perris homes, the accumulation inside the ducts begins to affect system performance and indoor air quality, regardless of how diligent you’ve been with the monthly and semi-annual checklists. The dust that settles in ducts over three years of Santa Ana seasons, of attic heat cooking the flex runs, of a coil producing condensate for months at a time, that dust doesn’t care how often you changed your filter. It’s in the duct walls, and it’s staying there until it’s mechanically removed.
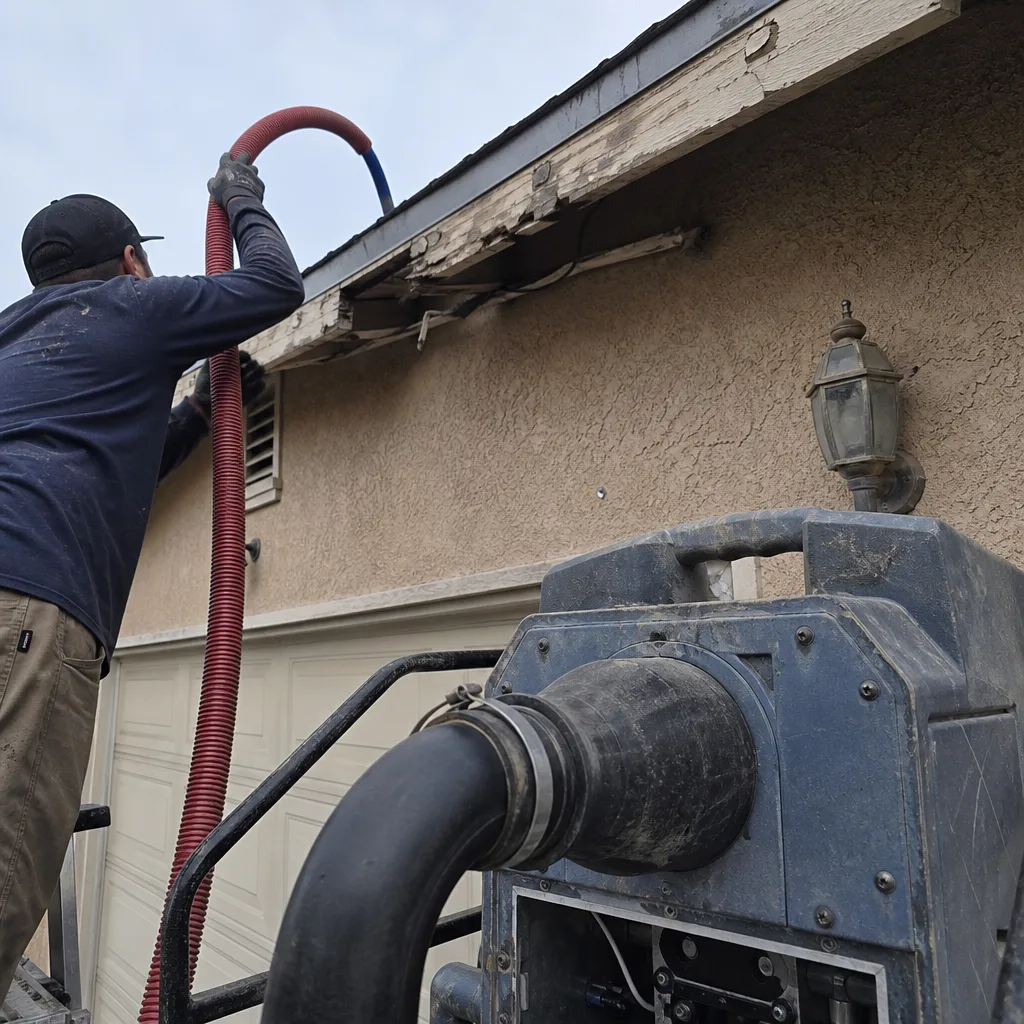
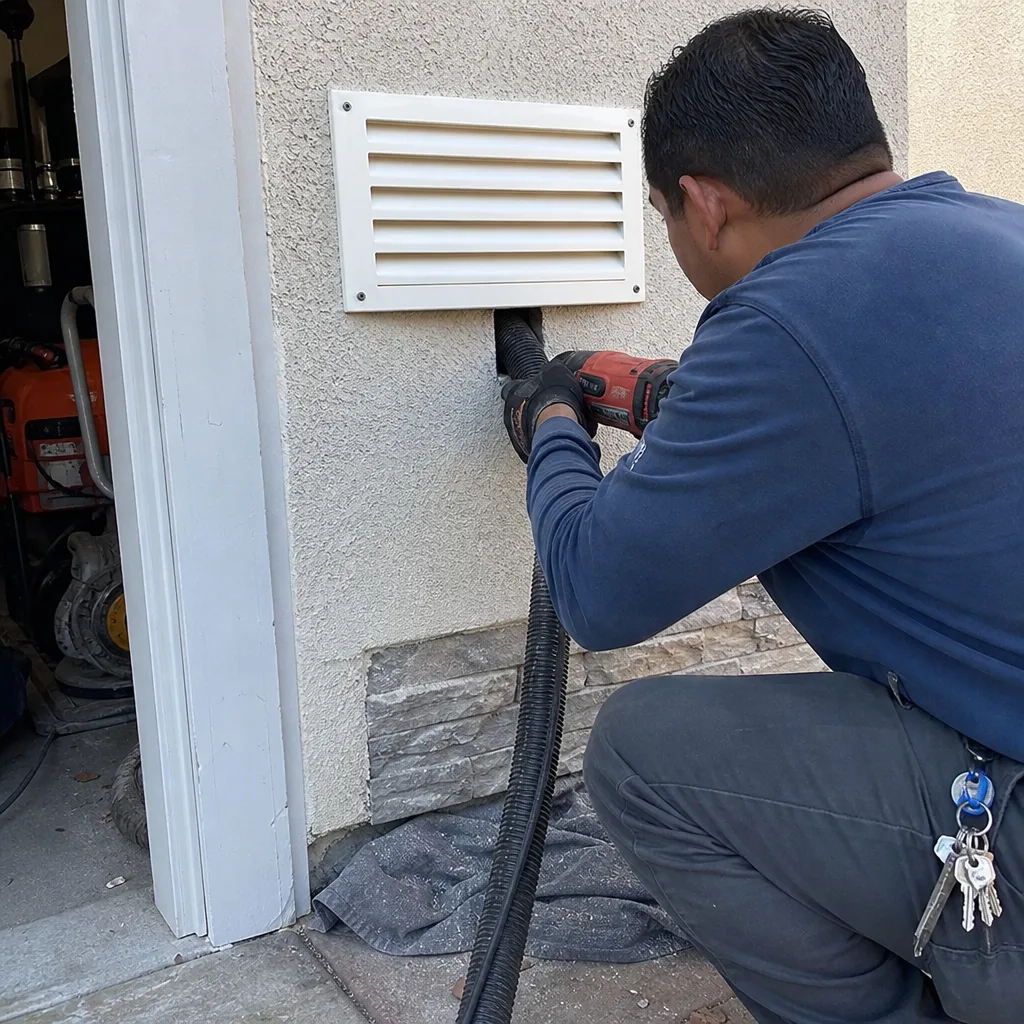
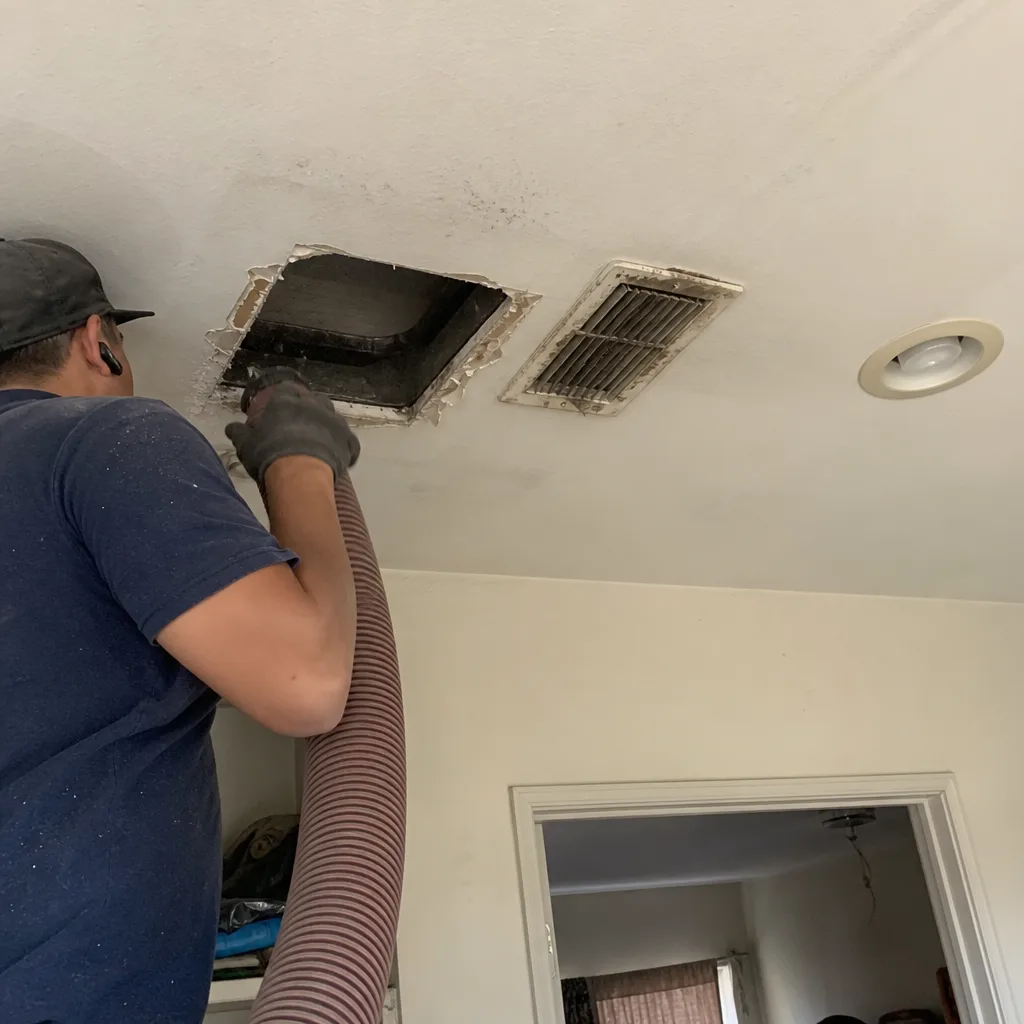
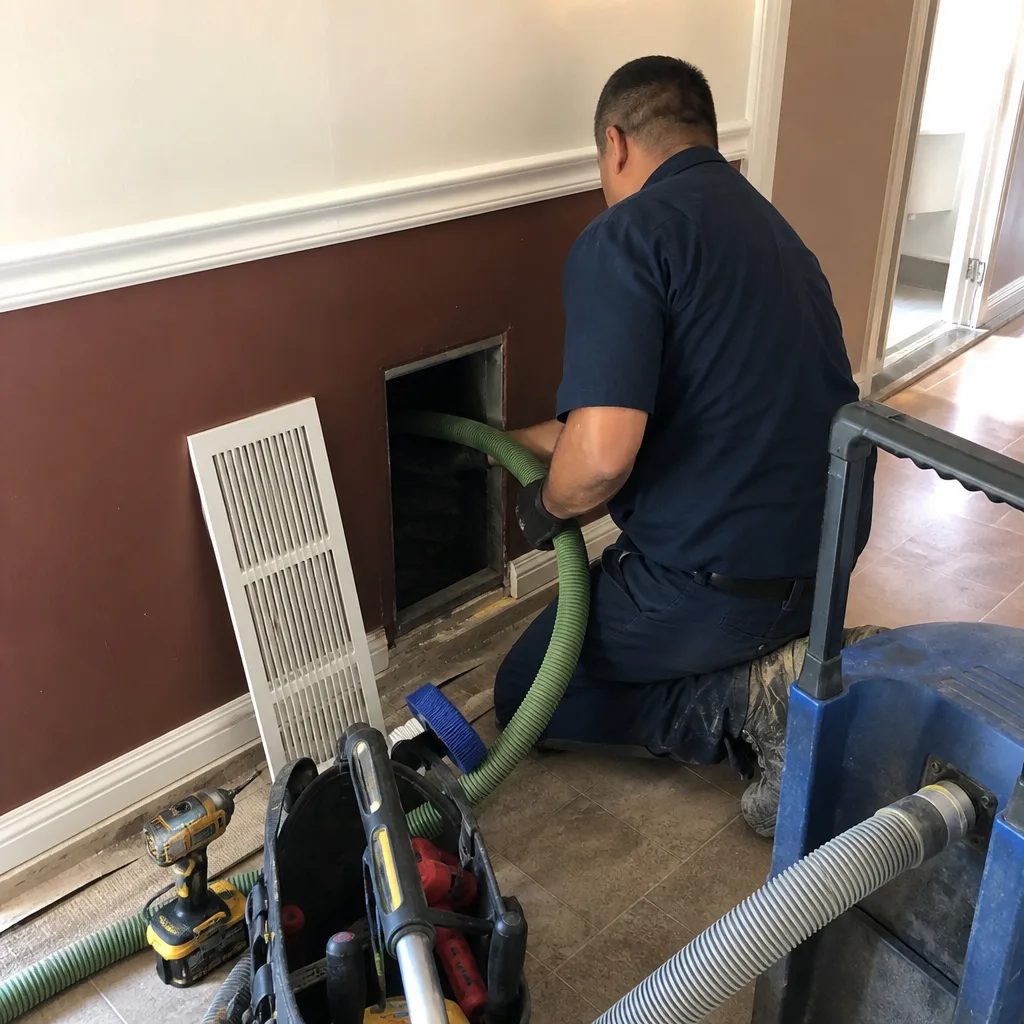
The right professional cleaning for a Perris home uses two things at once: mechanical agitation inside the duct walls and HEPA-rated extraction at the source. Brushes that spin against the duct surface dislodge the caked layer. The vacuum, pulling at the same time, captures the dislodged particulate so it doesn’t blow back into the living space. This is the difference between a cleaning that actually removes material and a cleaning that just rearranges it. We run Duct Cleaning Perris work with Rotobrush rotary brush systems paired with Nikro HEPA extraction units, because brush-agitation without high-quality extraction is how you end up with a dust storm in your living room, and extraction without agitation leaves the caked layer where it was.
Here’s what the 3-to-5-year interval should include, and what you should verify happened:
- Complete duct system cleaning, supply and return, main trunk and all branch runs. If the technician doesn’t open an access point in the main trunk, they’re not cleaning the whole system. Verify an access cut was made and properly capped after.
- Blower wheel and blower housing cleaning. The blower is the launch point for all supply air. A clean duct attached to a dirty blower is a losing proposition. The blower should be cleaned as part of any full-system cleaning.
- Evaporator coil cleaning if visual inspection shows buildup. Coil cleaning is sometimes separate from duct cleaning, and sometimes included. In Perris, where the coil runs hard for 10 months a year, coil condition should be checked during every cleaning. If it’s visibly loaded, it needs to be addressed in the same visit or the contamination cycle restarts immediately.
- Visual verification with before-and-after photos of the duct interior. You should never accept a cleaning you can’t see. Before-and-after photos taken with a duct camera from the same angle and same lighting are the industry standard for proof of work. If a company won’t show you the inside of your ducts before and after, that tells you something about their process.
- A documented list of any damage found during cleaning, separate from the cleaning report. A thorough cleaning is also an inspection. Loose joints, separated flex runs, chewed jacket material, or damaged register boots should be called out in writing. At that point you have the option to repair, and the repair should be performed by the same contractor who found it, if they’re qualified to do so. We are, because we do duct repair as a core service, not as a side note.
If you’re in a home that’s been through a renovation, had water intrusion, or you simply can’t remember the last time the ducts were done, the 3-to-5-year timer started the day you moved in. Start the interval from there. Every year past five compounds the problem in a way that makes the eventual cleaning more expensive, not less.
How to Log and Track Findings So Technicians Can Spot Patterns
A single inspection finding is data. A year of inspection findings is a diagnosis. Most homeowners don’t keep any record of what they see in their air handler, at their registers, or in their attic. Which means every technician visit starts from zero, and every visit treats the system like it’s never been seen before. The pattern that would have revealed a slowly degrading duct run in the northwest corner of the attic is invisible because nobody wrote anything down.
You don’t need a fancy app. A spiral notebook in a kitchen drawer works. What you need is consistency. Here’s the information a technician can actually use:
- Date and outdoor conditions for every inspection. “Checked filter March 14, two days after the last Santa Ana event, saw heavy gray dust.” That note is worth ten notes that just say “changed filter.”
- Filter change dates and the visual condition at change. If you’re changing a filter every 45 days in summer but every 70 days in winter, write that down. The pattern tells a technician exactly how much dust your envelope is admitting.
- Register readings: room-by-room airflow feel, white-cloth test results. “Master bedroom feels about 20% weaker than living room, no change from last month” is real data. “Bedroom feels weak” is not. The difference matters.
- Air handler cabinet findings with photos. Phone photos, even from a flashlight inspection, are better than a written description when a technician needs to assess progression. A photo of the blower wheel in March and another in September show whether the buildup is advancing, stable, or being treated.
- Any repair or service performed, by whom, and what was done. This is the most commonly missing piece. A duct repair performed by a previous contractor or homeowner becomes invisible after a year. When a technician doesn’t know a section of flex was replaced, they can’t assess whether the new section is failing or the old section was the right diagnosis.
- Energy bill notes when something changes. A 15% jump in cooling cost over the same month last year, with no change in usage pattern, is a system-efficiency signal. It belongs in the same log as the register readings, because together they point to the same thing: a duct problem or a component problem that’s costing you money every day.
When a technician from Duct Cleaning Perris walks into a home where the homeowner can show an 18-month log with filter intervals, smudge test results, attic findings, and energy bill notes, the diagnostic process is dramatically shorter and more accurate. The visit becomes a continuation of your own maintenance work, not a cold read. That’s how you avoid the cycle of paying for a cleaning every few years without ever actually resolving the underlying issues that make the cleaning necessary.
Common Mistakes to Avoid
- Assuming the filter is an adequate proxy for duct condition. The filter sees return air before the blower. The ducts see everything after. A clean filter tells you the air entering the system is relatively clean. It says nothing about the 30 feet of duct between the blower and the bedroom register. In Perris homes we see this constantly: a pristine filter check, and ductwork that’s never been inspected once in 20 years.
- Sealing registers closed in unused rooms to save energy. This is one of the most counterproductive things a homeowner can do. Closing registers increases static pressure in the duct system, which forces air through every small leak at higher velocity, and in flex duct systems, can cause the flex to balloon and fail at the connections. If you want to balance rooms, adjust dampers at the trunk, not registers at the room.
- Using the thermostat fan setting as a substitute for cleaning. Running the fan continuously adds air movement, but it doesn’t remove the caked dust layer on the duct walls. In fact, continuous fan operation in a dirty system can mobilize more dust over time, because you’re moving air through contaminated ductwork for more hours per day.
- Comparing duct cleaning quotes on price alone. In Perris, the difference between a $99 whole-house special and a professional Rotobrush and HEPA extraction cleaning is the difference between a 45-minute walk-through with a shop-vac on a long hose and a full-day job with mechanical agitation, containment, and photographic verification. The lower price always wins until you see the before-and-after photos from the higher-price job.
- Ignoring the dryer vent because it’s a separate system. The dryer vent is not connected to the HVAC ducts, but it’s the single highest fire-risk component of the entire home’s air-handling system. A dryer vent packed with lint in a Perris home can ignite, and it’s one of the only duct-related failures that can kill you. It deserves the same inspection calendar as the HVAC ducts. Dryer vent cleaning isn’t an add-on. It’s a fire-hazard service, and it should be on every Perris homeowner’s maintenance calendar.
- Waiting until you can see the problem to address it. By the time a register is blowing visible gray dust, the duct system has been compromised for years. The problem didn’t start when you noticed it. It started when the first pinhole leak appeared, when the first flex run separated at the boot, when the first gap in the filter housing started bypassing. The monthly and semi-annual checklists above catch these at the stage where the fix is measured in dollars, not decades.
- Assuming a one-time cleaning permanently solves the problem. Ducts are not a closed system. They’re connected to a dirty attic, a dirty garage, and a wind-blown desert environment. A cleaning is a reset, not a finish line. The system will begin accumulating again the day after the cleaning, and the rate of accumulation depends on how well the homeowner’s envelope and filtration are performing. Maintenance is a cycle, not an event.
When to Call a Professional
Some findings during your routine checks are clear signals to stop the DIY approach and get a professional inspection. Call a pro if you see visible mold growth on any duct surface or inside the air handler cabinet, if your smoke test confirms a duct leak you can’t visually trace, if the attic inspection reveals disconnected or collapsed flex ducts, if a drain pan is overflowing or backed up, or if you’ve done two consecutive monthly checks that show worsening debris at the registers. For Perris homeowners, a professional inspection with camera verification is the fastest way to establish the real condition of the system. Duct Cleaning Perris offers free estimates in Perris. Call (844) 728-0966 to schedule a full system evaluation with before-and-after photographic documentation.
Frequently Asked Questions
Every 3 to 5 years is the realistic interval for most Perris homes, driven by higher-than-average dust infiltration from the valley’s dry terrain and 10-plus months of HVAC runtime per year. Homes with pets, smokers, recent renovations, or residents with respiratory concerns may need cleaning closer to the 3-year end of the range, while homes with aggressive filtration and tight envelopes can often go the full 5 years. Use the register smudge test and blower wheel condition from your log to verify whether you’re on the right interval. For a professional assessment and exact pricing, call (844) 728-0966.
Whole-system air duct cleaning in Perris typically runs $450 to $900 for a standard single-family home, depending on system size, number of registers, accessibility, and the level of contamination present. Homes with heavily soiled ductwork, multiple zones, or inaccessible attic runs fall on the higher end, and any necessary repairs are quoted separately after inspection. A one-flat-price-per-system quote agreed upon before work begins is the only honest way to price this work. Call (844) 728-0966 for a free in-home evaluation and a specific quote for your system.
A $99 whole-house special typically means a technician with a consumer-grade vacuum and a short amount of allocated time does a surface-level pass through the registers, often without opening the main trunk, cleaning the blower, or documenting anything. A professional cleaning using rotary brush agitation and HEPA extraction removes the caked layer from the duct walls, captures the dislodged particulate so it doesn’t end up in your living room, and includes photographic proof of the work. The $99 special is not a cheaper version of the same thing; it’s an entirely different service. In Perris, we use professional-grade Rotobrush and Nikro equipment on every job, and we show you the before-and-after photos. Call (844) 728-0966 to discuss what a full-system cleaning actually includes.
You should receive before-and-after photos from inside the ductwork showing the same section, same angle, same lighting, with visible improvement in surface condition. You should also see evidence that the blower was cleaned, the system was accessed at the main trunk, not just through the registers, and that the technician documented any damage found during the cleaning. If a company refuses to show you interior photos or gives vague answers about process, you have your answer about the quality of the work. Our process includes photographic verification of every cleaning. Call (844) 728-0966 to see sample before-and-after images from homes we’ve cleaned in Perris.
Cheaper quotes usually mean less time on site, less equipment, and fewer steps in the process. Some companies skip the blower cleaning, quote per-vent instead of per-system, or use truck-mounted vacuums without brush agitation, which leaves most of the caked dust in the duct walls. The lower quote often becomes more expensive when the technician arrives and adds charges for coil cleaning, blower cleaning, or additional vents that should have been included from the start. The flat-price-per-system model eliminates this. Call (844) 728-0966 for a quote that covers the entire system, including the blower, with no per-vent pricing games.
They’re separate systems and don’t need to be done simultaneously, but they both follow the same 3-to-5-year interval and checking both during the same home visit is more efficient for the homeowner. The dryer vent is the more fire-critical of the two, and in Perris homes where dryer vents often run through hot attics or long horizontal runs, lint accumulation is a real fire hazard. We offer both services, along with dryer vent cleaning in Perris as a dedicated service with the same level of process documentation. Call (844) 728-0966 to schedule both services in one visit and save a trip.
The Bottom Line
A maintenance checklist is only as useful as the assumptions behind it. The generic advice, change your filter and schedule a cleaning every so often, is not enough for a Perris home where Santa Ana winds load the system with dust every fall, attic heat cooks the flex ducts every summer, and the HVAC runs nearly year-round. The checklist in this guide is built around those specific realities: monthly register and filter checks with visual triggers, semi-annual air handler cabinet inspections and the smoke test, pre- and post-Santa Ana protocols, annual attic duct walks, and a 3-to-5-year professional cleaning cycle using brush agitation with HEPA extraction. Log everything. Look at the duct system, not just the filter. When the log shows a pattern, call a pro. Duct Cleaning Perris is here for that call, with professional-grade equipment, full-service repair capability, and documentation of every job. Reach us at (844) 728-0966 for a free estimate in Perris.
Written by the team at Duct Cleaning Perris, serving Perris since 2014.
See the difference
 Before
 After
 Before
 After
 Before
 After